How to Choose the Right Acoustic Panel for Your Needs?
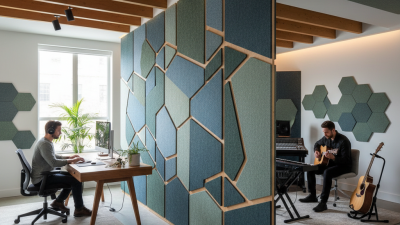
Choosing the right Acoustic Panel is not simply a matter of picking the thickest product or the most attractive color. Every room behaves differently. A podcast studio may need controlled speech reflections, while a restaurant may require broader noise reduction. A home office can feel calmer with carefully placed panels near the desk and walls.
This guide explains the practical factors that influence acoustic performance, including room size, surface materials, frequency range, panel thickness, placement, and installation method. It also considers fabric durability, fire-safety documentation, cleaning needs, and visual compatibility. These details matter. A panel that looks impressive may perform poorly when installed in the wrong location. I have seen rooms filled with panels that still sounded harsh because the ceiling and corners were ignored.
Start with the problem, not the product. Listen for echo, muffled speech, distracting background noise, or uneven sound. Measure the room when possible, then identify where reflections are strongest. Manufacturer test data can help, but laboratory results do not perfectly represent every finished space. Use them as guidance, not absolute proof.
Small changes matter. A few well-positioned panels may outperform a crowded wall. Still, no single solution works everywhere. Budget, appearance, maintenance, and future room use should shape the decision. Choosing well requires practical observation, reliable specifications, and a willingness to adjust the plan after installation.
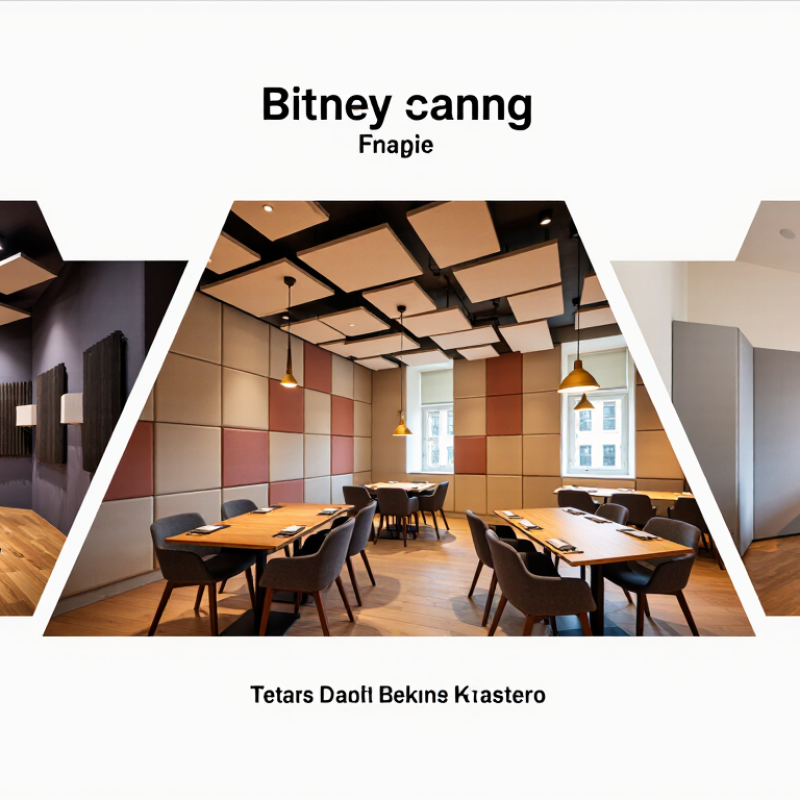
Assess Your Room’s Acoustic Problems and Goals
Choosing an acoustic panel starts with understanding the room, not browsing product catalogs.
Stand at the center and clap once. Listen for a sharp echo, flutter between parallel walls, or a dull, overly quiet response. Record the room from several positions, but treat phone recordings as clues, not measurements.
Define the room’s main purpose. A home office may need clearer speech during video calls. A music room may require controlled reflections without removing all liveliness. A dining area often needs less harshness around hard surfaces. Note the floor, ceiling, windows, and furniture. Bare glass and painted walls usually reflect more sound than curtains or upholstered seating.
My first assessment was wrong.
I blamed the walls, but the strongest reflections came from the ceiling and a nearby table. A small mirror test helped locate the early reflection points. For speech, place absorptive panels near those points and behind the speaker when practical. Thicker panels can address more low-mid energy, while thin panels mainly reduce higher frequencies. Do not cover every surface. Excess absorption can make a room feel unnatural and may hide the real problem. If possible, compare the room before and after treatment at the same listening position. Measure reverberation time with suitable equipment when accuracy matters. A professional acoustic consultant can help when the room serves recording, teaching, or critical listening. Expect some trial and error. Floors, furniture, and occupant movement can change the result.
Understand Acoustic Panel Types and Their Sound-Absorption Roles
How to Choose the Right Acoustic Panel for Your Needs?
Acoustic panels work by absorbing sound energy, not by blocking every noise source. Porous panels made from mineral wool or fiberglass usually absorb broad frequency ranges. They are useful in offices, studios, classrooms, and meeting rooms. Their thickness affects performance, especially with lower frequencies. A thin panel may calm echoes but leave bass buildup untouched. Fabric-wrapped panels can also improve speech clarity when mounted near reflective walls.
Foam panels are lightweight and often target mid and high frequencies. They can reduce sharp reflections around desks, microphones, and small speakers. However, foam alone may create a dull room without controlling bass.
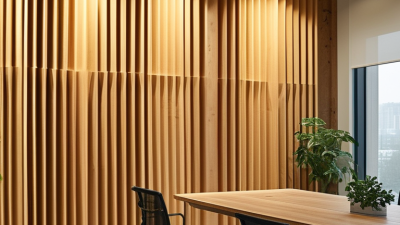
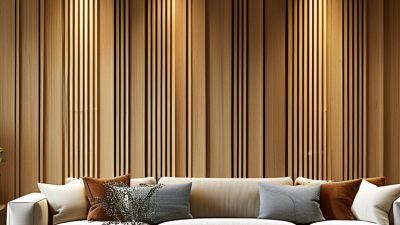
Slatted wood panels usually combine a hard face with an absorptive backing. They balance visual warmth with useful absorption. Perforated wood products can perform differently, so check tested acoustic data rather than judging by appearance.
I measure the room before choosing panels. Clap tests reveal echoes, while speech recordings expose lingering reflections. Look for published noise reduction ratings, but remember that laboratory results may not match a furnished room. Placement matters as much as material. Start with first-reflection points, ceiling areas, and bare rear walls. I once added too many high-frequency panels and made a room feel unnaturally quiet. That mistake taught me to treat absorption as a measured adjustment, not decoration. A small air gap behind a panel can improve low-frequency absorption, though the result depends on construction and placement.
Compare Materials, Performance Ratings, and Safety Features
Choosing an acoustic panel starts with the room’s problem, not its appearance. Hard surfaces create sharp reflections, while furnishings already absorb some speech frequencies. In practice, mineral wool and fiberglass panels often deliver strong broadband absorption. Their NRC ratings commonly help compare performance, but NRC is not the whole story. Check absorption coefficients at 125, 250, 500, 1,000, and 2,000 Hz when low-frequency control matters.
PET panels are lightweight, durable, and easier to shape. They suit offices, classrooms, and busy corridors. Foam can reduce high-frequency echo, but it may perform poorly with deeper sounds. Slatted wood panels add diffusion and visual warmth, yet their backing material determines much of their absorption. A high rating can mislead. Test conditions differ.
Safety deserves equal attention. Look for documented fire-performance classifications, low-emission adhesives, and sealed or stable edges. In a children’s room or public hallway, impact resistance and secure mounting matter more than a decorative finish. Moisture-resistant construction is useful near kitchens, though it does not replace proper ventilation. Ask for test reports, installation limits, and maintenance guidance. Do not rely only on a sales label. I have seen attractive panels selected too quickly, then mounted over the wrong area. The room sounded better, but conversations remained unclear. That mistake is easy to repeat.
How to Choose the Right Acoustic Panel for Your Needs?
Compare materials, sound-absorption performance, and key safety considerations.
The chart compares representative Noise Reduction Coefficient (NRC) values on a 0–1 scale. Higher NRC values indicate greater average sound absorption across standard test frequencies. Actual performance depends on panel thickness, mounting method, air gaps, room conditions, and tested assembly.
| Material |
Typical Use |
Safety Consideration |
| Mineral wool |
High-performance wall and ceiling treatment |
Often available in Class A tested assemblies; confirm the complete panel, fabric, and mounting system. |
| Fiberglass |
Broadband absorption in offices, studios, and public spaces |
Use an enclosed or properly faced product and verify its fire-test documentation. |
| PET felt |
Lightweight, decorative, and frequently recycled-content panels |
Fire performance varies by fiber composition and treatment; check the tested product classification. |
| Perforated wood with acoustic backing |
Architectural interiors requiring a hard decorative finish |
Fire behavior depends on the wood finish, perforation, backing, and installation assembly. |
Values shown are rounded representative NRC figures for commonly specified panel constructions, not guarantees for every product. Always request laboratory test reports and confirm applicable fire, smoke, and installation requirements before purchase.
Match Panel Size, Shape, and Placement to the Space
How to Choose the Right Acoustic Panel for Your Needs?
Match Panel Size, Shape, and Placement to the Space
Panel selection should begin with the room, not the product. Measure the wall height, ceiling height, and usable surface area. A small panel may look attractive but leave speech reflections untouched. Large panels can control more sound with fewer installation points.
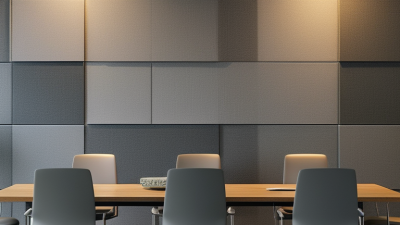
For a meeting room, place panels near the main speaking wall and opposite reflective surfaces. In a home studio, side-wall panels should sit near ear level. Ceiling panels can reduce harsh reflections above desks or recording areas. Keep panels evenly spaced when possible. Irregular placement may still work, but it can create uneven acoustic control.
Shape also affects practical performance. Rectangular panels suit narrow walls and long reflection paths. Clouds or suspended shapes help rooms with hard ceilings. Corner absorbers can address low-frequency buildup, though they need enough depth to be effective. Thin decorative panels often control higher frequencies better than bass.
I once placed panels too high in a small office. The room looked balanced, but conversations remained tiring. Moving two panels downward made a noticeable difference. That mistake changed my process. I now test the room before fixing every panel permanently. A clap test can reveal obvious echoes, but it cannot replace measured acoustic testing. Leave some surfaces uncovered when possible. A completely dead room may feel unnatural. The right arrangement depends on room use, furniture, and listener position.
Plan Installation, Budget, and Long-Term Maintenance
How to Choose the Right Acoustic Panel for Your Needs?
Plan the installation before comparing panel colors or textures. Measure the room, ceiling height, windows, doors, and large reflective surfaces. In real projects, panels placed behind speakers and near conversation areas often improve speech clarity quickly. However, covering every wall can make a room feel unnaturally dull. Leave some controlled reflection for comfort and energy.
Set a complete budget, including mounting hardware, labor, delivery, and future repairs. A panel’s absorption rating matters, but so do fire performance, fabric durability, and cleaning requirements. Choose materials that suit the room’s humidity and daily use. I once underestimated installation time because the wall required extra preparation. That mistake changed the schedule and cost. Plan more carefully than I did.
Tips: Mark panel positions with removable tape before drilling. Keep a small spare piece of covering material for later repairs. Vacuum fabric gently, and check mounting points twice each year. If the room still sounds harsh, record short conversations from different corners. Your ears may notice problems that measurements miss. Reconsider the layout when results feel uneven.
How to Choose the Right Acoustic Panel for Your Needs? - Plan Installation, Budget, and Long-Term Maintenance
| Panel Type |
Typical Thickness |
Typical NRC Range* |
Indicative Material Cost
(USD/ft²) |
Best-Fit Applications |
Installation Considerations |
Long-Term Maintenance |
| PET Felt Panel |
12–24 mm |
0.30–0.70 |
$8–$25 |
Offices, classrooms, corridors, collaborative areas |
Lightweight; can be installed with clips, adhesive, or a suspended system. Leave an air gap where possible to improve low-frequency absorption. |
Vacuum or gently brush periodically. Spot-clean according to the material manufacturer’s instructions. |
| Fabric-Wrapped Mineral Fiber Panel |
25–100 mm |
0.70–1.00 |
$12–$35 |
Meeting rooms, recording spaces, lecture rooms, speech-critical areas |
Use mechanical anchors suitable for the wall substrate. A 50–100 mm air gap can increase absorption, especially at lower frequencies. |
Vacuum using a soft brush attachment. Replace damaged fabric rather than washing the panel unless permitted by the covering specification. |
| Acoustic Wood Slat Panel |
20–45 mm |
0.60–0.95 |
$18–$45 |
Reception areas, hospitality interiors, boardrooms, residential living spaces |
Install over an absorptive backing layer. Check wall levelness, panel alignment, edge finishing, and moisture conditions before installation. |
Dust with a soft cloth or vacuum gently. Avoid excess water and harsh cleaners that may damage the wood finish. |
| Perforated Wood Panel |
16– forty mm |
0.50–0.85 |
$20–$50 |
Auditoriums, music rooms, cultural spaces, high-design interiors |
Requires accurate framing and careful handling of perforated surfaces. Confirm the backing absorber and cavity depth for the required acoustic performance. |
Use low-pressure vacuuming or a dry microfiber cloth. Inspect perforations and joints during routine cleaning. |
| Acoustic Foam Panel |
25–75 mm |
0.30–0.65 |
$5–$18 |
Small studios, podcast rooms, equipment enclosures, budget installations |
Use only products with documented fire-performance information where required. Adhesive mounting may limit future repositioning. |
Keep away from heat sources and direct sunlight. Vacuum gently; replace compressed, brittle, or damaged foam. |
| Ceiling Baffle or Cloud |
25–100 mm |
0.60–1.10 |
$15–$45 |
Open offices, cafeterias, classrooms, large rooms with hard ceilings |
Coordinate suspension points with lighting, sprinklers, ventilation, and access requirements. An exposed top surface can contribute to absorption. |
Dust from both sides when accessible. Check suspension hardware periodically and maintain required clearance from building services. |
Installation Planning
Treat approximately 20–40% of the major reflective wall and ceiling surfaces as a starting range for reducing reverberation in ordinary rooms. The final area should be confirmed through room measurements or an acoustic assessment.
Budget Planning
Add approximately 10–25% to material cost for mounting hardware, trims, delivery, cutting, and installation labor. Prices vary with thickness, shape, fabric, fire requirements, and project quantity.
Performance Check
NRC is a single-number rating based on sound absorption testing and should not be treated as soundproofing. It does not measure how much sound passes through a wall or ceiling.
*Typical ranges are general planning values, not product certifications. Actual performance depends on thickness, mounting method, air gap, test standard, room conditions, and product construction. Prices are indicative material-only ranges in USD and exclude taxes, shipping, and labor. “16–40 mm” is the typical thickness range for perforated wood panels.